

– Sashimi: Sashimi is simply thinly sliced raw fish or seafood, served on its own without rice. It’s often enjoyed with soy sauce, wasabi, and sometimes garnishes like shredded daikon radish or shiso leaves. Sashimi focuses on the pure, unadulterated flavor of the seafood.
– Nigiri: Nigiri, on the other hand, consists of a slice of raw fish (or occasionally cooked seafood) placed on top of a small, hand-formed ball of vinegared rice. Sometimes a small amount of wasabi is placed between the fish and rice, and it may be wrapped with a thin strip of nori (seaweed) to hold it together.
Both highlight the quality and freshness of the fish, but nigiri includes the added texture and taste of rice.
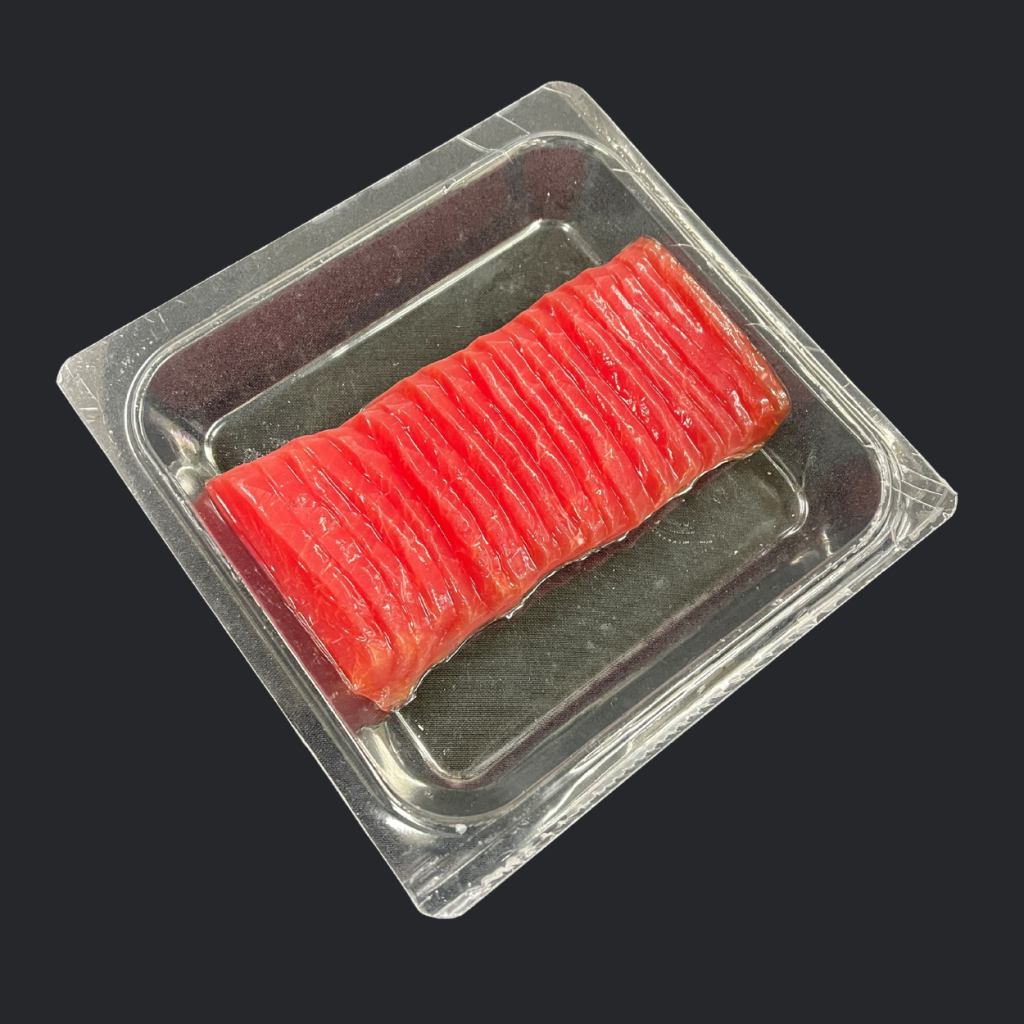
Sashimi
Serving yellowfin tuna sashimi can be an art, and the goal is to highlight the fish’s natural, rich flavor and silky texture. Here are some of the best ways to serve it:
1. Classic Sashimi Presentation
– Set up: Arrange the tuna slices in a fan shape or as individual pieces on a chilled plate.
– Condiments: Offer traditional accompaniments like soy sauce, freshly grated wasabi (or prepared wasabi paste), and pickled ginger. A dash of ponzu sauce can also complement the fish’s natural flavor.
– Garnishes: Add a touch of freshness with thinly sliced scallions, microgreens, shiso leaves, or julienned daikon radish.
2. Citrus-Infused
– Yuzu or lime: Serve with a light drizzle of yuzu or lime juice for a bright, citrusy contrast.
– Citrus soy sauce: Mix soy sauce with a bit of orange or lemon juice for dipping.
3. Spicy Variations
– Spicy ponzu: Make a spicy ponzu sauce by combining ponzu, minced chili peppers, and a touch of sesame oil.
– Spicy mayo: Offer a spicy mayo dip (a mix of mayonnaise and Sriracha) for guests who enjoy a bit of heat.

4. Textural Contrasts
– Crispy toppings: Add crunch with crispy fried garlic chips, toasted sesame seeds, or thin slices of crispy nori.
– Pickled vegetables: Serve alongside pickled cucumbers, radishes, or jalapeños for a balance of acidity and texture.
5. Oil Drizzle and Salt Flakes
– High-quality oils: Finish the sashimi with a light drizzle of extra virgin olive oil or sesame oil to enhance its richness.
– Salt: Sprinkle a touch of flaky sea salt or smoked salt for a flavor boost.
6. Sashimi Salad
– Fresh greens: Arrange slices over a bed of greens like arugula, mizuna, or thinly sliced cucumbers. Dress with a sesame-soy vinaigrette or a light citrus dressing.
Nigiri

Here’s how to prepare tuna nigiri from sashimi:
1. Prepare Sushi Rice (Shari)
– Cook rice: Use short-grain sushi rice and cook it according to package instructions.
– Season: While the rice is hot, mix it gently with sushi vinegar (a combination of rice vinegar, sugar, and salt). Use a wooden or plastic paddle to fold the vinegar into the rice without smashing the grains.
– Cool: Let the rice cool to room temperature, covering it with a damp cloth to prevent it from drying out.
2. Form the Rice Balls
– Wet your hands: Lightly moisten your hands with water and a small amount of rice vinegar to prevent sticking.
– Shape the rice: Take about a tablespoon of sushi rice and gently shape it into an oval ball about the size of two fingers, pressing lightly to ensure it holds its shape. Be careful not to compress the rice too tightly, as the texture should remain fluffy.
3. Prepare the Tuna Slices
– Puncture the film on the packaging with a knife or fork and remove the tuna slices.
4. Assemble the Nigiri
– Wasabi: Dab a small amount of wasabi onto the center of each tuna slice (optional, depending on taste).
– Place the rice: Lay the formed rice ball onto the wasabi side of the tuna slice. Use your fingers to press the fish and rice together gently, shaping the nigiri so that the tuna curves slightly over the rice. Make sure the fish is securely attached to the rice but not overly compressed.
5. Adjust and Serve
– Final shaping: Use your fingers to neaten the edges and ensure the nigiri looks clean and well-formed.
– Serve immediately: Present the tuna nigiri on a platter with soy sauce, pickled ginger, and wasabi on the side.
Tips for Success:
– Consistency: Aim for uniform rice balls and fish slices to ensure a polished presentation.
– Freshness: Serve immediately for the best texture and flavor, as the rice will start to harden if left out too long.
– Garnishes: Optionally, you can garnish with a small piece of shiso leaf, a sprinkle of toasted sesame seeds, or a light brush of soy sauce.
Enjoy your beautifully crafted tuna nigiri!
Seared Yellowfin Tuna Slices
For someone who prefers cooked fish, a simple way to prepare yellowfin tuna sashimi is to sear it lightly, creating a deliciously flavorful crust while keeping the interior moist and tender. Here’s a quick and easy method:
Ingredients:
– Yellowfin tuna sashimi slices
– Salt and freshly ground black pepper
– Sesame seeds (optional)
– High smoke-point oil (like vegetable, canola, or sesame oil)
Steps:
1. Season the Sashimi Slices: Lightly sprinkle both sides of the tuna sashimi slices with salt and freshly ground black pepper. If desired, press one side of each slice into sesame seeds for extra texture and flavor.
2. Heat the Pan: Use a non-stick skillet and heat a small amount of oil over medium-high heat. The oil should be hot but not smoking.
3. Sear the Tuna Slices: Carefully place each sashimi slice in the hot pan. Sear each side for about 20-40 seconds, depending on how cooked you want the tuna to be. The edges will turn opaque, but the center should still retain some pink. If you prefer the tuna more cooked, sear slightly longer.
4. Serve Immediately: Arrange the lightly seared sashimi slices on a plate. Drizzle with soy sauce, ponzu, or a touch of sesame oil. Optionally, garnish with thinly sliced scallions, pickled ginger, or a sprinkle of toasted sesame seeds.
This method gives the tuna a slight sear, making it more appealing for those who prefer cooked fish while still preserving the delicate texture. Enjoy!